
There’s something truly magical about mochi. This delightful Japanese treat brings back memories of cozy family gatherings and sweet celebrations. The chewy texture and subtle sweetness make it irresistible, and the best part? You can whip it up at home in no time! Using a stand mixer not only simplifies the process but also ensures a perfect consistency every time. So, let’s dive into this easy and fun recipe!
Why You’ll Love How to Make Mochi with a Stand Mixer (Homemade Mochi)
- Fast: You can have your mochi ready in under 30 minutes!
- Easy: This recipe is beginner-friendly, making it a perfect introduction to making mochi.
- Customizable: Add your favorite flavors or fillings to make it uniquely yours.
- Crowd-pleasing: Everyone loves mochi, and it’s a fantastic treat for gatherings!
Ingredients
- 1 cup glutinous rice flour (mochi flour): This is the star ingredient that gives mochi its signature texture.
- 1 cup water: Essential for bringing the flour together into a smooth batter.
- 1/4 cup sugar: Adds just the right touch of sweetness to balance the flavors.
- Cornstarch or potato starch (for dusting): Helps keep the mochi from sticking to surfaces and to itself.
How to Make How to Make Mochi with a Stand Mixer (Homemade Mochi)
- Start by placing the glutinous rice flour and sugar in the bowl of your stand mixer.
- Gradually pour in the water while mixing on low speed. Keep mixing until everything is well combined.
- Once mixed, turn up the speed to medium and mix for about 3-5 minutes. You want the batter to be smooth and slightly thickened.
- Next, prepare a microwave-safe dish by lightly greasing it or lining it with parchment paper.
- Pour the mochi batter into the prepared dish and cover it with plastic wrap.
- Microwave the dish on high for 2 minutes. Carefully remove it and give the mixture a good stir.
- Return the dish to the microwave and cook for an additional 1-2 minutes, or until the mochi becomes translucent and slightly sticky.
- Let the mochi cool for a few minutes before dusting a clean surface with cornstarch or potato starch.
- Turn the mochi out onto the dusted surface and sprinkle more starch on top to prevent it from sticking.
- Finally, cut the mochi into your desired shapes and sizes. Dust with more cornstarch or potato starch as needed before serving.
Substitutions & Additions
If you’re feeling adventurous, try these fun variations:
- Flavor it up: Add a teaspoon of matcha powder for a lovely green tea flavor, or incorporate some cocoa powder for a chocolatey twist.
- Fillings: Experiment with fillings like sweet red bean paste, fresh fruit, or even ice cream!
- Color: Use natural food coloring to make your mochi more visually appealing.
Tips for Success
Here are a few pointers to ensure your mochi turns out perfectly:
- Don’t rush the mixing: The longer you mix, the smoother your batter will be.
- Check your microwave: Cooking times can vary, so keep an eye on your mochi as it cooks.
- Prep-ahead: You can prepare the batter in advance and simply microwave it when you’re ready to enjoy!
How to Store How to Make Mochi with a Stand Mixer (Homemade Mochi)
Store any leftover mochi in an airtight container at room temperature for up to 2 days. If you want to keep it longer, you can freeze it! Just make sure to dust it with cornstarch to prevent sticking before placing it in a freezer-safe bag. When you’re ready to enjoy, simply thaw it at room temperature.
FAQs
Can I make mochi without a stand mixer? Yes! You can mix the ingredients by hand, but it will require more effort to achieve a smooth batter.
Is mochi gluten-free? No, mochi is made with glutinous rice flour, which contains gluten. However, it is gluten-free if made with gluten-free fillings.
Can I add food coloring to the mochi batter? Absolutely! Just a few drops will add a nice touch of color to your treats.
Making homemade mochi is a delightful way to bring a taste of Japan into your kitchen. For more delicious recipes, check out this sweet treat or this quick and easy salad for something refreshing!
Don’t forget to follow our Pinterest for more inspiration and delicious recipes!

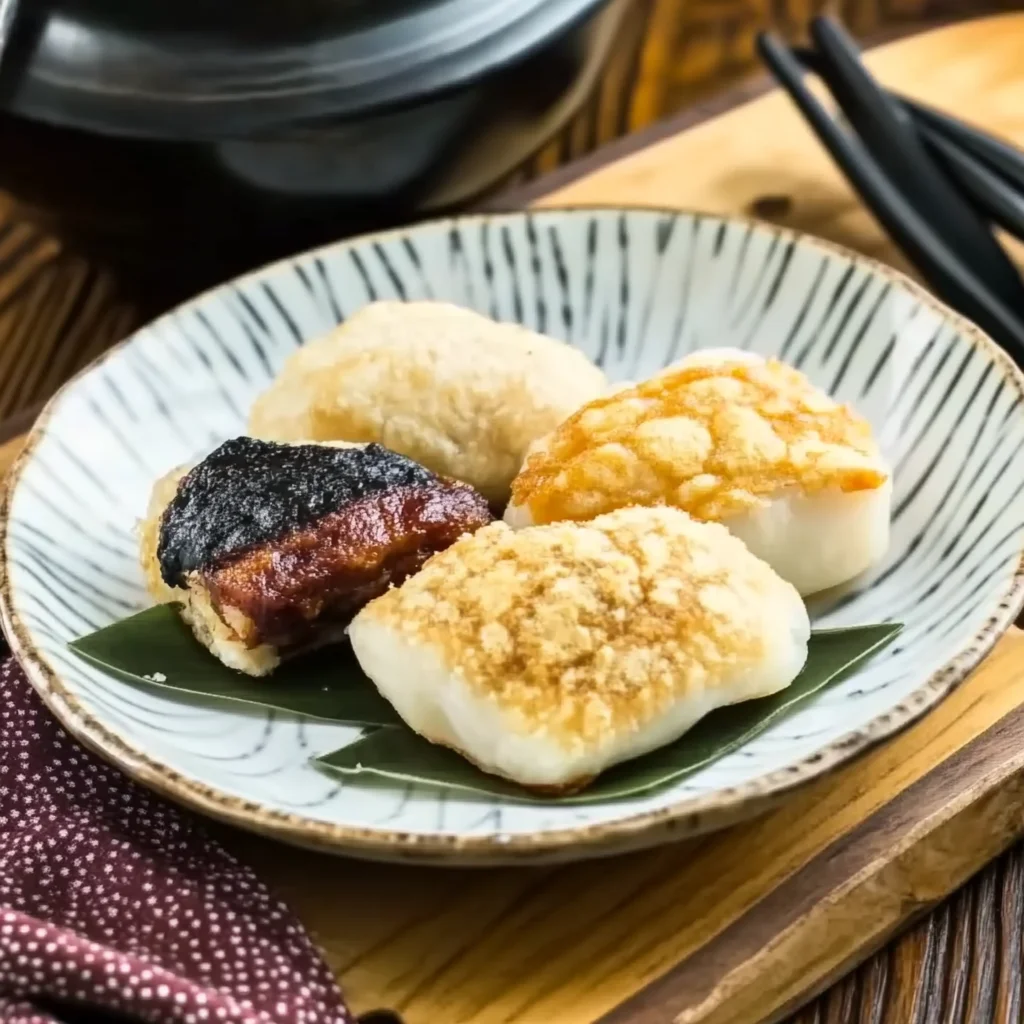
Homemade Mochi
Ingredients
Equipment
Method
- Step 1: Start by placing the glutinous rice flour and sugar in the bowl of your stand mixer.
- Step 2: Gradually pour in the water while mixing on low speed. Keep mixing until everything is well combined.
- Step 3: Once mixed, turn up the speed to medium and mix for about 3-5 minutes until the batter is smooth and slightly thickened.
- Step 4: Prepare a microwave-safe dish by lightly greasing it or lining it with parchment paper.
- Step 5: Pour the mochi batter into the prepared dish and cover it with plastic wrap.
- Step 6: Microwave the dish on high for 2 minutes. Carefully remove it and give the mixture a good stir.
- Step 7: Return the dish to the microwave and cook for an additional 1-2 minutes, or until the mochi becomes translucent and slightly sticky.
- Step 8: Let the mochi cool for a few minutes before dusting a clean surface with cornstarch or potato starch.
- Step 9: Turn the mochi out onto the dusted surface and sprinkle more starch on top to prevent it from sticking.
- Step 10: Finally, cut the mochi into your desired shapes and sizes. Dust with more cornstarch or potato starch as needed before serving.