
Ah, the changing of the seasons often brings a wave of nostalgia, doesn’t it? When the leaves begin to turn and the air gets that crisp bite, I find myself craving warm, comforting dishes that remind me of family gatherings and cozy evenings. One such dish that has stolen my heart is Kabocha Salad. This delightful recipe is not only easy to whip up, but it’s also packed with flavor and texture that will make your taste buds dance. You will love how quickly you can bring this dish together, making it perfect for busy weeknights or special occasions!
Why You’ll Love Kabocha Salad
- Fast: You can have this gorgeous salad prepped and on the table in no time.
- Easy: Even if you are new to cooking, this recipe will make you feel like a pro.
- Giftable: It’s a fabulous dish to take to gatherings or share with friends; it travels well!
- Crowd-pleasing: This salad tends to win over even the pickiest eaters with its creamy feta and crunchy nuts.
Ingredients
- 1 small kabocha squash: This sweet, nutty squash is the star of the show!
- 2 tablespoons olive oil: For roasting and adding richness.
- 1 teaspoon salt: Enhances the flavors of the ingredients.
- 1/2 teaspoon black pepper: A little spice to elevate the dish.
- 1 tablespoon apple cider vinegar: Adds a tangy brightness.
- 1 tablespoon maple syrup: A touch of sweetness that pairs beautifully with the squash.
- 1/4 cup red onion, finely chopped: For a bit of crunch and sharpness.
- 1/2 cup cooked quinoa: Adds protein and heartiness.
- 1/4 cup feta cheese, crumbled: Creamy and tangy goodness!
- 1/4 cup toasted pecans or walnuts: For that extra crunch and flavor.
- Fresh parsley, for garnish: A pop of color and freshness.
How to Make Kabocha Salad
- Preheat your oven to 400°F (200°C).
- Cut the kabocha squash in half and scoop out the seeds. Slice it into wedges or cubes, whichever you prefer.
- In a bowl, toss the squash pieces with olive oil, salt, and black pepper until they are evenly coated.
- Spread the squash on a baking sheet and roast it in the preheated oven for about 25-30 minutes, or until tender and lightly browned.
- While the squash is roasting, whisk together the apple cider vinegar and maple syrup in a separate bowl.
- In a large mixing bowl, combine the roasted kabocha, red onion, cooked quinoa, feta cheese, and toasted nuts.
- Drizzle the dressing over the salad and gently toss everything together to combine.
- Garnish with fresh parsley before serving, and enjoy!
Substitutions & Additions
If you want to switch things up a bit, consider these alternatives:
- Squash: Butternut or acorn squash can be great substitutes.
- Cheese: Try goat cheese for a different flavor profile.
- Nuts: Feel free to use your favorite nuts or seeds for variety.
- Grains: Swap out quinoa for farro or barley for a different texture.
Tips for Success
Here are some tips to ensure your Kabocha Salad turns out perfectly:
- Make sure to cut the squash into even pieces for consistent roasting.
- Don’t skip the toasting of the nuts as it really enhances their flavor.
- If you’re preparing ahead, keep the salad components separate until you’re ready to serve to avoid sogginess.
How to Store Kabocha Salad
You can store leftover Kabocha Salad in an airtight container in the fridge for up to 3 days. Just remember to keep the dressing separate until you’re ready to enjoy it again. This way, the salad stays fresh and crunchy!
FAQs
- Can I make this salad ahead of time? Yes, you can roast the squash and prepare the dressing ahead of time. Just mix everything together just before serving.
- Is this salad vegan? You can make it vegan by omitting the feta cheese or using a plant-based alternative.
- What can I serve with Kabocha Salad? It pairs beautifully with grilled chicken or as a side dish for your favorite protein.
There you have it, my dear friend! A delightful Kabocha Salad that’s sure to bring warmth and comfort to your table. For more delicious recipes, check out the Delightful Japanese Apple Salad or Quick Beef Donburi Recipe for treats you will love!
Don’t forget to follow us on Pinterest for more amazing recipes and inspiration!

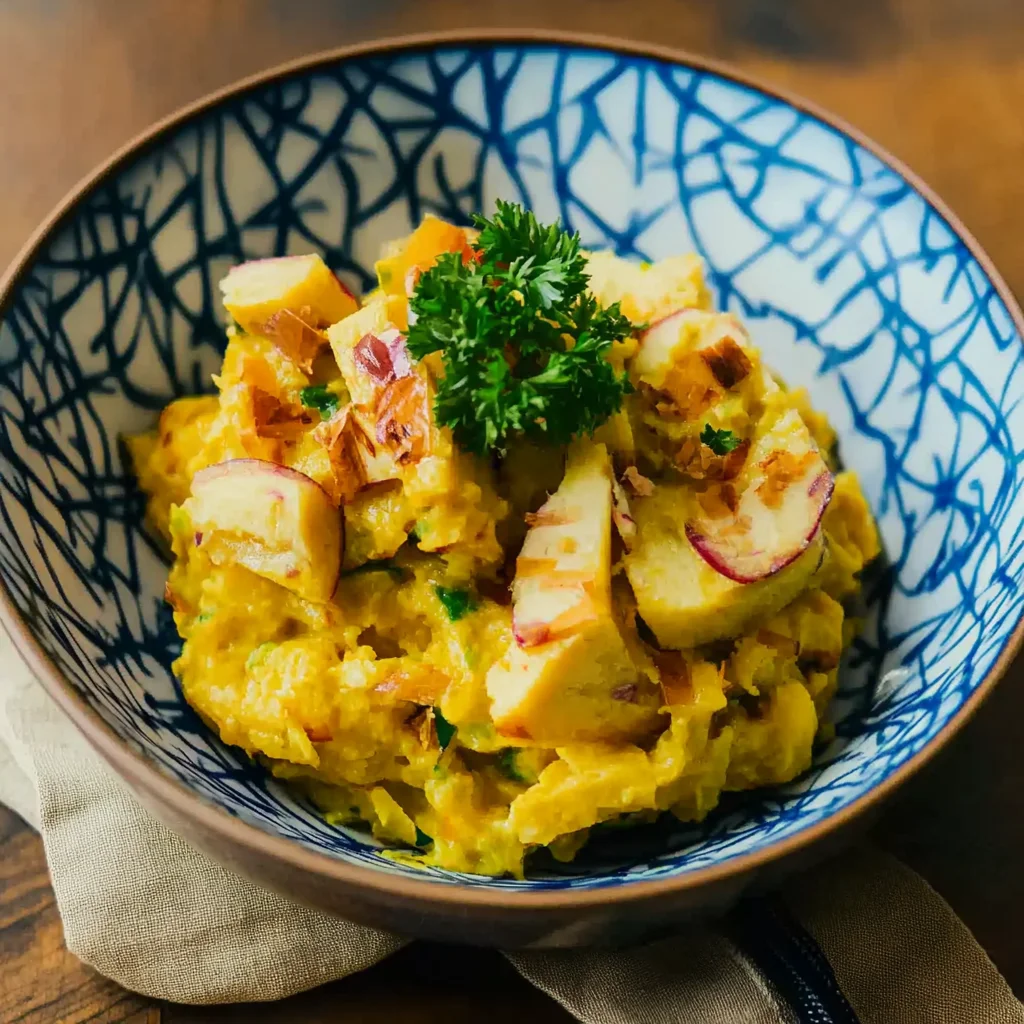
Kabocha Salad
Ingredients
Equipment
Method
- Step 1: Preheat your oven to 400°F (200°C).
- Step 2: Cut the kabocha squash in half and scoop out the seeds. Slice it into wedges or cubes, whichever you prefer.
- Step 3: In a bowl, toss the squash pieces with olive oil, salt, and black pepper until they are evenly coated.
- Step 4: Spread the squash on a baking sheet and roast it in the preheated oven for about 25-30 minutes, or until tender and lightly browned.
- Step 5: While the squash is roasting, whisk together the apple cider vinegar and maple syrup in a separate bowl.
- Step 6: In a large mixing bowl, combine the roasted kabocha, red onion, cooked quinoa, feta cheese, and toasted nuts.
- Step 7: Drizzle the dressing over the salad and gently toss everything together to combine.
- Step 8: Garnish with fresh parsley before serving, and enjoy!