
Is there anything quite as delightful as the zesty crunch of red pickled ginger? When I think of sushi nights or even just a simple rice bowl, this vibrant condiment makes everything feel a little more special. The first time I made Red Pickled Ginger (Beni Shoga), I was amazed at how simple it was to create something so flavorful at home. Plus, it’s a fantastic way to preserve fresh ginger and add a pop of color to your meals!
Why You’ll Love Red Pickled Ginger (Beni Shoga)
- Fast: You can whip up this recipe in no time, with just a little prep and waiting.
- Easy: The steps are straightforward, making it perfect for both novice and seasoned cooks.
- Giftable: Pack it in a cute jar and share it with friends and family; it’s a unique homemade gift!
- Crowd-pleasing: This tangy treat complements a variety of dishes, from sushi to salads!
Ingredients
- 1 cup fresh young ginger: The star of the show! Young ginger is tender and less fibrous, perfect for pickling.
- 1 cup rice vinegar: Adds that characteristic tangy flavor.
- 1 cup water: Balances the acidity of the vinegar.
- 1 cup granulated sugar: Sweetness is key in pickling!
- 1 teaspoon salt: Enhances flavors and helps draw out moisture from the ginger.
- Red food coloring (optional): For that classic bright hue, but feel free to skip it if you prefer a natural look.
How to Make Red Pickled Ginger (Beni Shoga)
- Start by peeling your fresh ginger. I like to use a spoon to scrape the skin off gently.
- Slice the ginger into thin pieces using a mandoline or a sharp knife. The thinner, the better!
- Place the sliced ginger in a bowl and sprinkle it with salt. Let it sit for about 30 minutes to draw out moisture.
- In a saucepan, combine rice vinegar, water, sugar, and a teaspoon of salt. Heat over medium heat, stirring until the sugar dissolves completely. Remove from heat and let the mixture cool.
- After the ginger has sat, rinse it under cold water to remove excess salt, then drain well.
- If you want that vibrant red color, add a few drops of red food coloring to the cooled vinegar mixture.
- Place the ginger slices in a clean jar and pour the vinegar mixture over the ginger until they’re fully submerged.
- Seal the jar and refrigerate for at least 24 hours before digging in. Trust me, the flavors deepen beautifully over time!
Substitutions & Additions
If you want to switch things up, you can try using different types of vinegar, like apple cider vinegar for a fruity twist. You could also add a slice of lemon or some chili flakes to the brine for a touch of heat. The possibilities are endless!
Tips for Success
- Be sure to slice the ginger as evenly as possible for consistent pickling.
- Don’t skip the resting time with salt; it’s crucial for the texture.
- If you plan to make a larger batch, just double the recipe and use a bigger jar!
How to Store Red Pickled Ginger (Beni Shoga)
Once your ginger is ready, store it in the refrigerator in an airtight container. It will keep well for up to 2 months. Just make sure to always use clean utensils to scoop out the ginger, so it stays fresh longer.
FAQs
Q: Can I use regular ginger instead of young ginger?
A: While you can, young ginger is preferred for its tenderness and milder flavor.
Q: How spicy is red pickled ginger?
A: It’s not spicy at all! It’s tangy and sweet, making it a perfect palate cleanser.
Q: Can I make this recipe vegan?
A: Yes, all the ingredients are vegan-friendly!
Q: How can I use red pickled ginger?
A: It’s delicious with sushi, in salads, or as a tangy topping for rice bowls. You can even enjoy it on its own!
Making your own Red Pickled Ginger (Beni Shoga) is a wonderful way to elevate your meals and impress your friends. For more delicious recipes, check out this pickled ginger recipe or this delightful apple salad for treats you will love!
If you’re eager to explore even more culinary delights, don’t forget to follow us on Pinterest for endless inspiration!
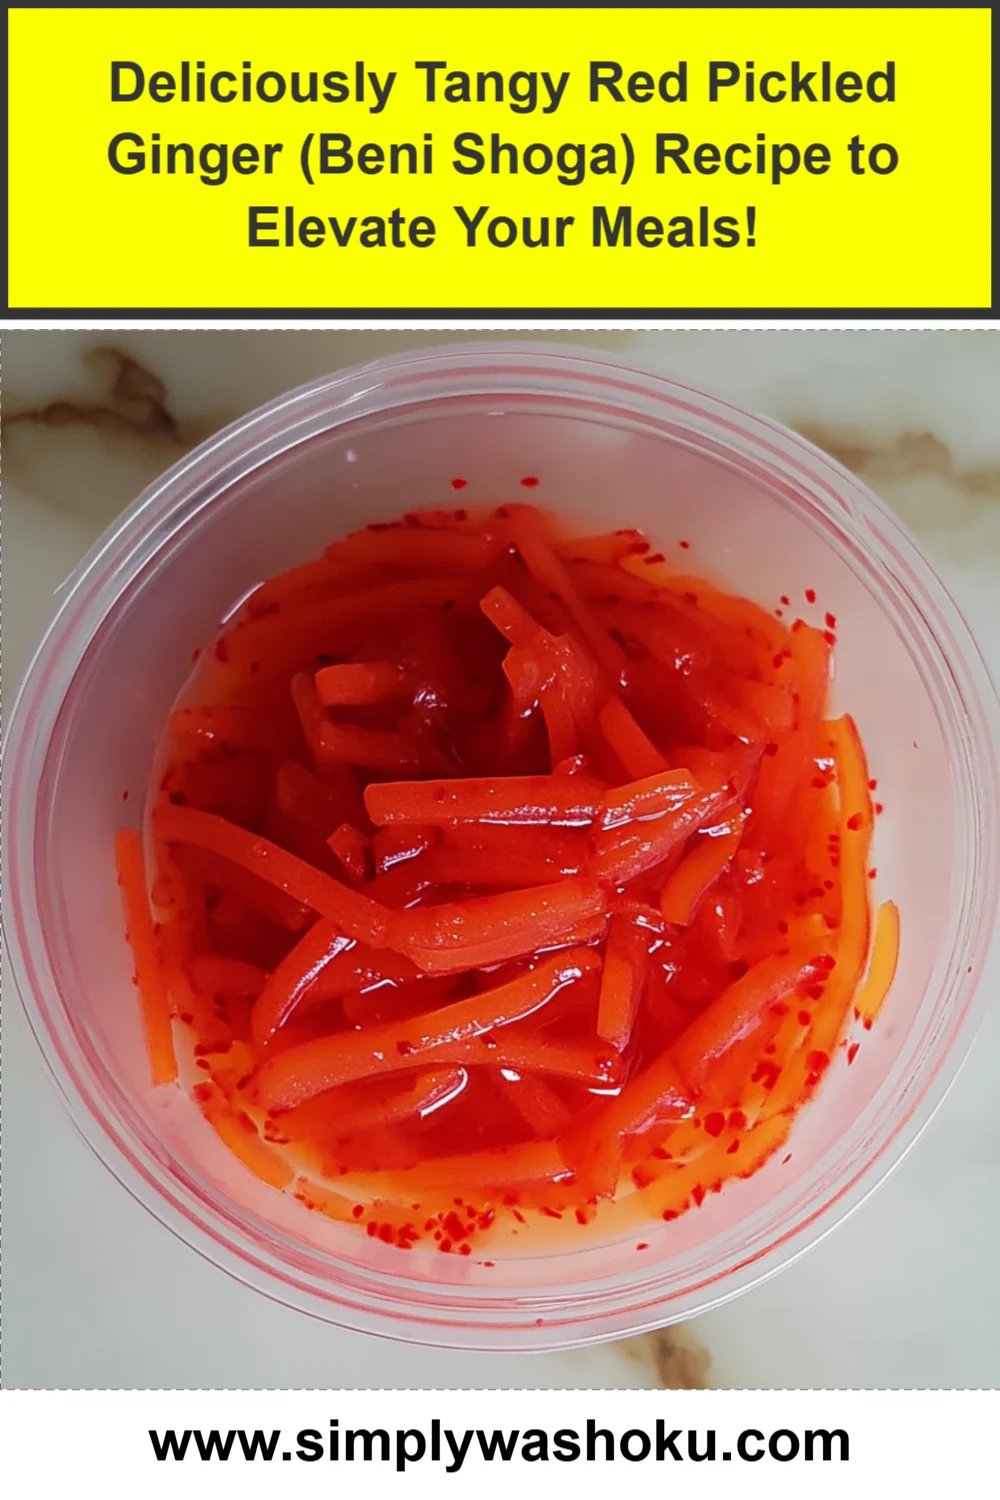
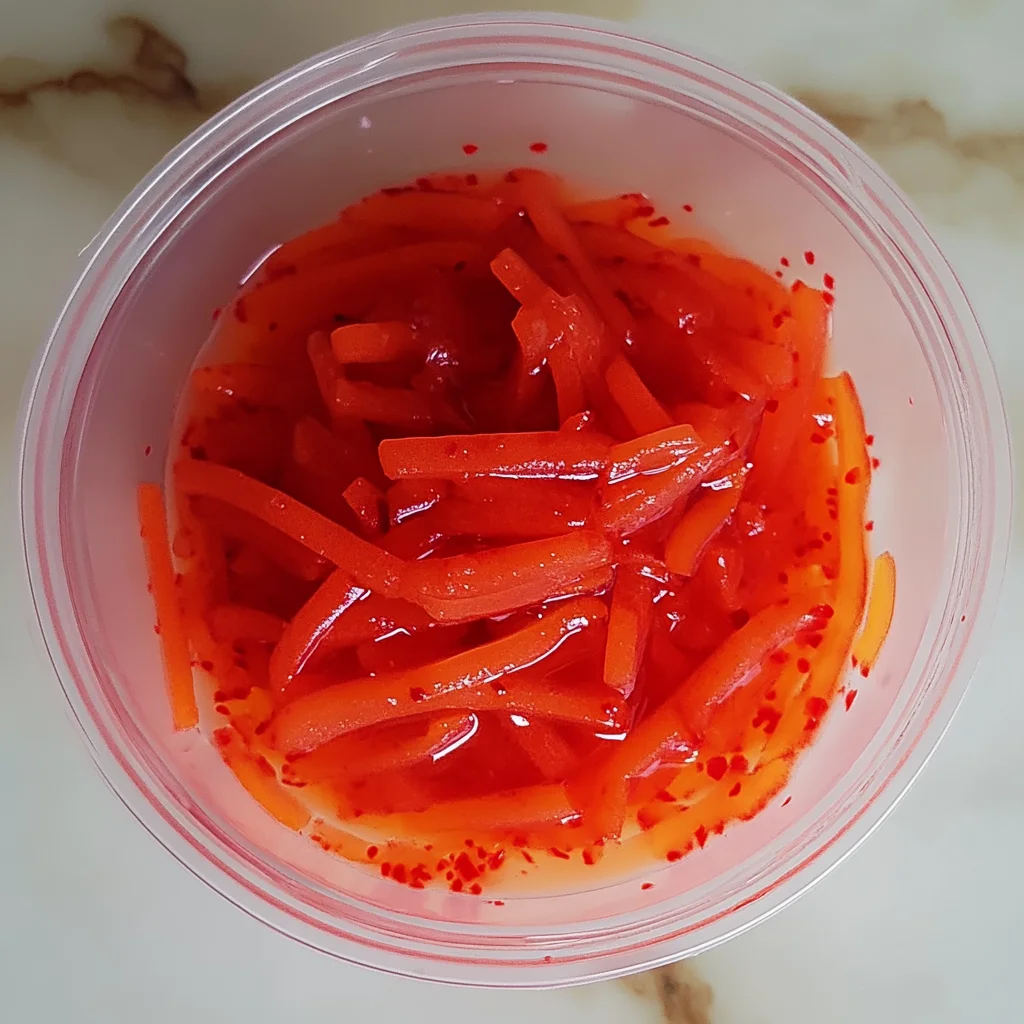
Red Pickled Ginger (Beni Shoga)
Ingredients
Equipment
Method
- Step 1: Start by peeling your fresh ginger. I like to use a spoon to scrape the skin off gently.
- Step 2: Slice the ginger into thin pieces using a mandoline or a sharp knife. The thinner, the better!
- Step 3: Place the sliced ginger in a bowl and sprinkle it with salt. Let it sit for about 30 minutes to draw out moisture.
- Step 4: In a saucepan, combine rice vinegar, water, sugar, and a teaspoon of salt. Heat over medium heat, stirring until the sugar dissolves completely. Remove from heat and let the mixture cool.
- Step 5: After the ginger has sat, rinse it under cold water to remove excess salt, then drain well.
- Step 6: If you want that vibrant red color, add a few drops of red food coloring to the cooled vinegar mixture.
- Step 7: Place the ginger slices in a clean jar and pour the vinegar mixture over the ginger until they're fully submerged.
- Step 8: Seal the jar and refrigerate for at least 24 hours before digging in. Trust me, the flavors deepen beautifully over time!