
There’s something so special about homemade pickles that brings back warm memories of family gatherings and simple dinners. Beni Shoga, or red pickled ginger, is not only a delightful addition to many dishes but also super easy to make! In just a few steps, you’ll have a tangy, vibrant condiment that can elevate your meals. Let’s dive into this quick and memorable recipe together!
Why You’ll Love Beni Shoga (Red Pickled Ginger)
- Fast: You can whip up this recipe in under an hour, with most of the time just letting the ginger sit and soak up the flavors.
- Easy: The steps are straightforward, making it a perfect project for cooks of all skill levels.
- Giftable: This pickled ginger makes a charming gift for friends who appreciate homemade treats or a great addition to a meal you’ve prepared.
- Crowd-pleasing: Even those who are unsure about ginger often find themselves loving this sweet and tangy condiment!
Ingredients
- 200g fresh ginger: This is the star of the show, offering a zesty flavor that transforms dishes.
- 1 cup rice vinegar: This adds a mild acidity that balances the sweetness of the sugar.
- 1 cup sugar: Sweetness is key in this recipe to contrast the ginger’s natural spiciness.
- 1 teaspoon salt: This helps draw out moisture from the ginger and enhances the overall flavor.
- A few drops of red food coloring (optional): For that classic appearance, though it’s not necessary for flavor!
How to Make Beni Shoga (Red Pickled Ginger)
- Start by peeling the ginger. I find using a spoon works great for this! Then, slice it thinly—using a mandoline can help you get even slices which will pickle perfectly.
- Place the sliced ginger in a bowl and sprinkle it with salt. Let it sit for about 30 minutes. This will draw out excess moisture and enhance the flavor.
- After 30 minutes, rinse the ginger slices under cold water and drain them well.
- In a saucepan, combine the rice vinegar, sugar, and a few drops of red food coloring if you’re using it. Heat over medium heat, stirring gently until the sugar dissolves. Remember, do not bring it to a boil!
- Once the sugar is dissolved, remove the saucepan from the heat and allow the vinegar mixture to cool to room temperature.
- Now it’s time to put it all together! Place the ginger slices in a clean jar and pour the cooled vinegar mixture over them, ensuring the ginger is fully submerged.
- Seal the jar and refrigerate for at least 24 hours before using. The flavors will develop beautifully over time, and you can enjoy your pickled ginger for several weeks thereafter.
Substitutions & Additions
If you’re looking to mix things up, here are some ideas:
- Try using apple cider vinegar for a different flavor profile.
- Add a dash of sesame oil for a hint of nuttiness.
- Mix in some thinly sliced jalapeños for a spicy kick!
Tips for Success
Here are some common pitfalls to avoid:
- Make sure to slice the ginger as evenly as possible for consistent pickling.
- Don’t skip the rinsing step after salting; this helps remove excess saltiness.
- If you want to prep ahead, you can make this ginger a week in advance for optimal flavor!
How to Store Beni Shoga (Red Pickled Ginger)
Store your homemade Beni Shoga in the refrigerator in an airtight jar. It’ll last for several weeks, but I recommend enjoying it within a month for the best taste. Just remember to always use clean utensils when scooping it out to keep it fresh!
FAQs
Can I use other types of ginger?
No, fresh ginger is ideal for this recipe as it provides the best texture and flavor.
Is the food coloring necessary?
No, it’s optional! The pickled ginger will taste great without it, but it does add a nice pop of color.
Can I use the pickled ginger immediately?
While you can, letting it sit for at least 24 hours allows the flavors to deepen.
Making your own Beni Shoga is such a rewarding experience, and it adds a personal touch to your meals. For more delicious recipes, check out this easy hot chocolate fudge recipe or this delightful Japanese apple salad recipe for treats you will love!
Don’t forget to follow us on Pinterest for more culinary inspiration!

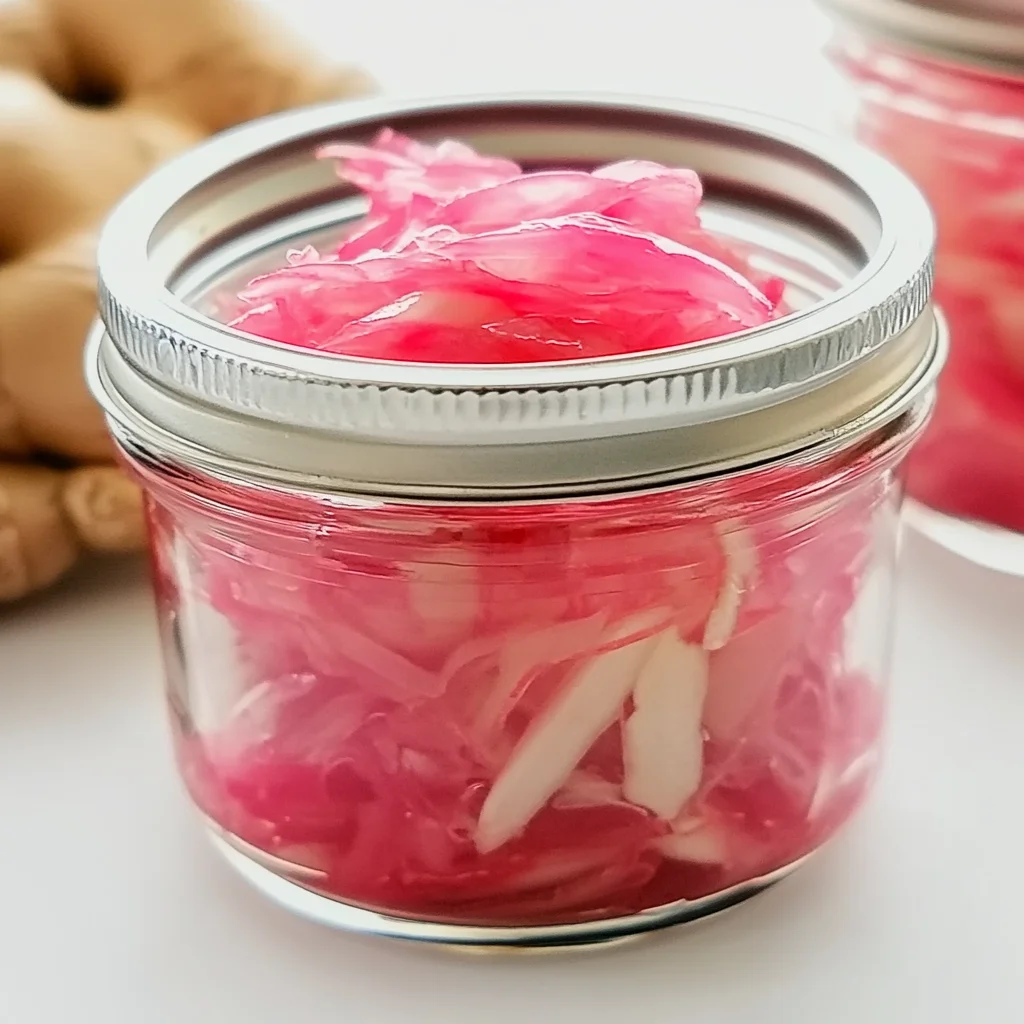
Beni Shoga (Red Pickled Ginger)
Ingredients
Equipment
Method
- Step 1: Start by peeling the ginger. I find using a spoon works great for this! Then, slice it thinly—using a mandoline can help you get even slices which will pickle perfectly.
- Step 2: Place the sliced ginger in a bowl and sprinkle it with salt. Let it sit for about 30 minutes. This will draw out excess moisture and enhance the flavor.
- Step 3: After 30 minutes, rinse the ginger slices under cold water and drain them well.
- Step 4: In a saucepan, combine the rice vinegar, sugar, and a few drops of red food coloring if you're using it. Heat over medium heat, stirring gently until the sugar dissolves. Remember, do not bring it to a boil!
- Step 5: Once the sugar is dissolved, remove the saucepan from the heat and allow the vinegar mixture to cool to room temperature.
- Step 6: Now it’s time to put it all together! Place the ginger slices in a clean jar and pour the cooled vinegar mixture over them, ensuring the ginger is fully submerged.
- Step 7: Seal the jar and refrigerate for at least 24 hours before using. The flavors will develop beautifully over time, and you can enjoy your pickled ginger for several weeks thereafter.