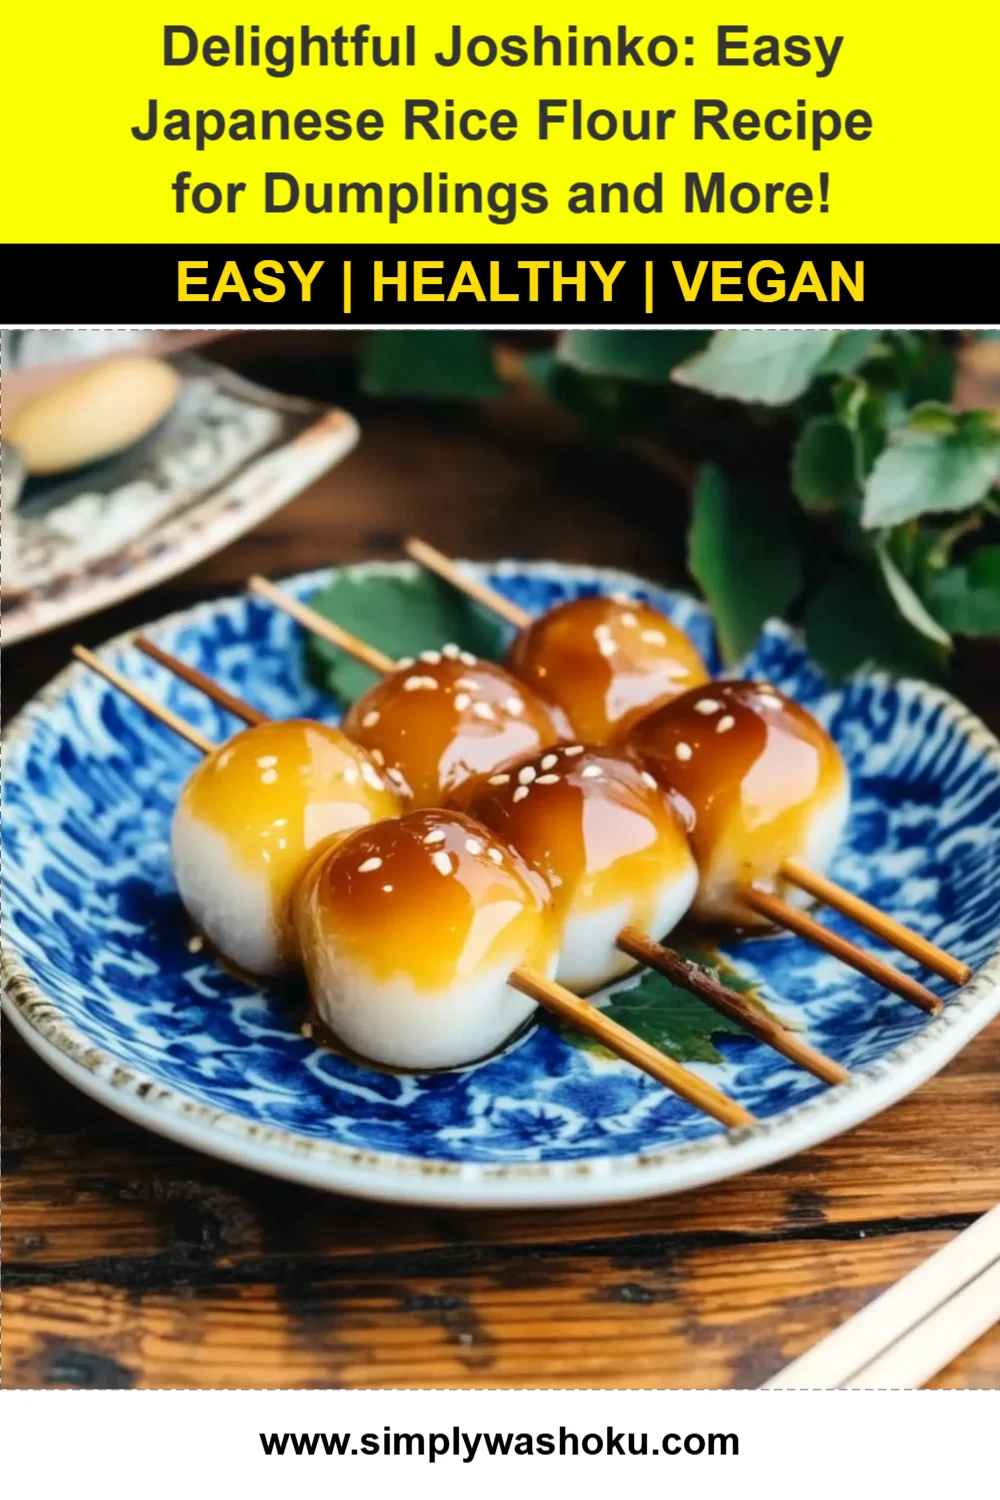
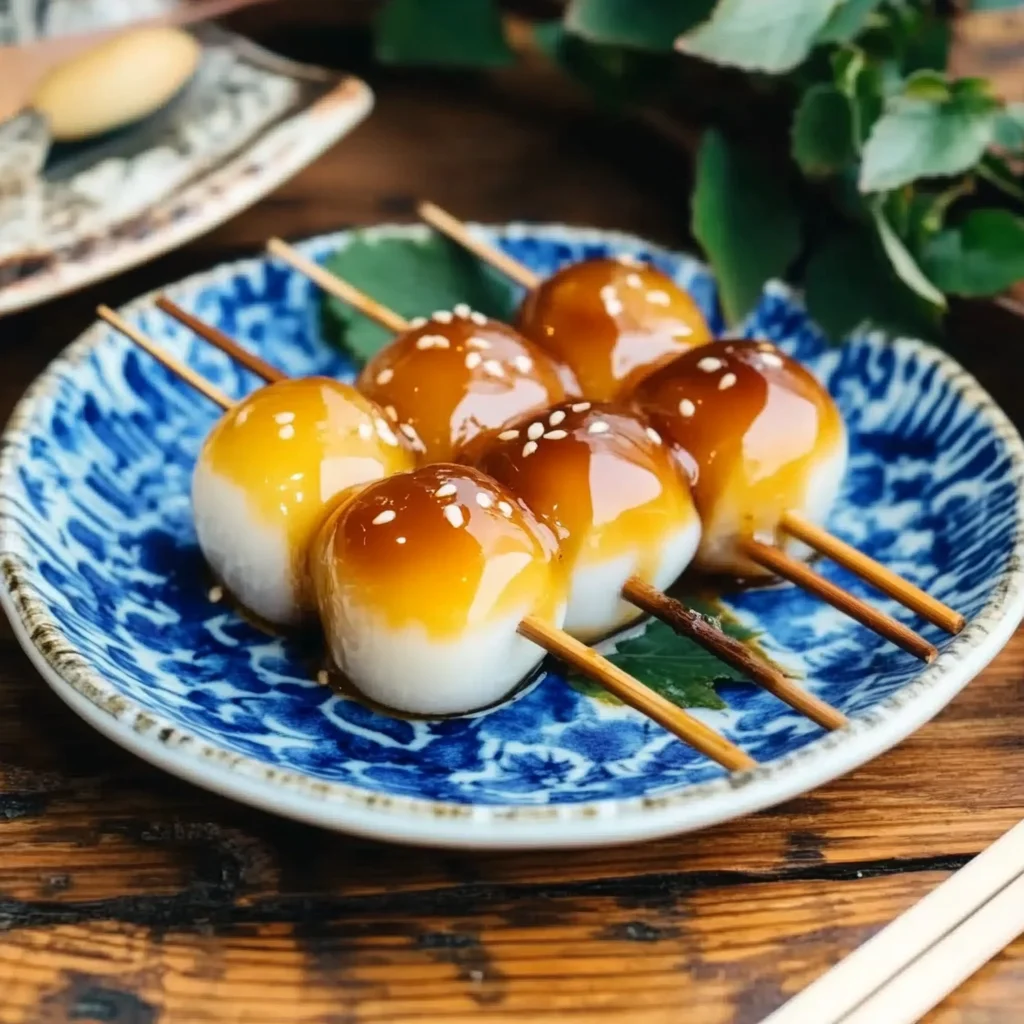
There’s something truly special about cooking with ingredients that connect us to our heritage. Joshinko, or Japanese rice flour, brings a sense of warmth and tradition to your kitchen. It’s amazing how easy and quick it is to whip up something delicious with just a few simple ingredients. Whether you’re making dumplings or a unique base for other dishes, this recipe is sure to become a cherished part of your cooking repertoire.
Why You’ll Love Joshinko
- Fast: You can have the dough prepped and ready to go in about 15 minutes.
- Easy: With just three basic ingredients, it’s a straightforward recipe that anyone can master.
- Versatile: Use it as a base for dumplings, pancakes, or even in desserts!
- Gluten-Free: Perfect for those looking for gluten-free options without compromising on flavor.
Ingredients
- 2 cups joshinko flour (Japanese rice flour) – This is the star of the show, giving your dishes that delightful chewy texture.
- 1/2 cup water – This helps to bind everything together, creating a pliable dough.
- 1/4 teaspoon salt – A pinch of salt enhances the overall flavor of your dough.
- Optional: additional water for adjusting the dough consistency – Depending on the humidity in your kitchen, you may need a little extra.
How to Make Joshinko
Now that you have your ingredients ready, let’s dive into making this delicious joshinko dough!
- In a mixing bowl, combine the joshinko flour and salt. Make sure to mix them well to ensure an even distribution of the salt.
- Gradually add the water to the flour mixture while stirring. Keep mixing until a dough starts to form. It should be slightly sticky but manageable.
- Knead the dough lightly on a clean surface until it becomes smooth and pliable. If it feels too dry, don’t hesitate to add a little more water, just a teaspoon at a time.
- Once the dough is ready, cover it with a damp cloth and let it rest for about 30 minutes. This is a crucial step that allows the dough to relax, making it easier to shape later.
- After resting, shape the dough as desired for your intended use. You can create dumplings, pancakes, or even use it as a base for desserts.
- Cook the shaped dough according to your recipe or preferred method. Steaming, boiling, or pan-frying are all excellent options!
Substitutions & Additions
If you don’t have joshinko flour handy, you can try using sweet rice flour as a substitute. It will give you a similar texture, although the flavor might be slightly different. Additionally, feel free to add herbs or spices to the dough for a unique twist. Imagine a garlic-infused joshinko dough for savory dumplings!
Tips for Success
- Common Mistake: Adding too much water can lead to a sticky dough. Start with less and add more as needed.
- Prep Ahead: You can prepare the dough in advance and store it in the refrigerator for up to a day. Just let it come to room temperature before shaping.
- Experiment: Don’t be afraid to try different fillings or toppings with your joshinko creations.
How to Store Joshinko
Store any leftover dough in an airtight container in the refrigerator for up to two days. If you have already cooked dishes made with joshinko, they can typically be stored in the fridge for about three days. Just remember to reheat gently to maintain the texture.
FAQs
- Can I freeze joshinko dough? Yes, you can freeze the dough! Wrap it tightly in plastic wrap and store it in the freezer for up to a month.
- What is the best way to cook joshinko dumplings? Steaming or pan-frying works beautifully, giving you a lovely texture.
- Can I make joshinko without salt? Absolutely! You can omit the salt if you’re watching your sodium intake, but it does enhance the flavor.
Making joshinko is such a rewarding experience, bringing a little piece of Japan into your home. For more delicious recipes, check out the easy hot chocolate fudge recipe or delightful Japanese apple salad for treats you will love!
Don’t forget to follow us on Pinterest for more inspiration and creative ideas!
Joshinko Dough
Ingredients
Equipment
Method
- Step 1: In a mixing bowl, combine the joshinko flour and salt. Mix well for even distribution.
- Step 2: Gradually add the water to the flour mixture while stirring until a dough starts to form.
- Step 3: Knead the dough lightly on a clean surface until smooth and pliable, adding more water if too dry.
- Step 4: Cover the dough with a damp cloth and let it rest for about 30 minutes.
- Step 5: Shape the rested dough as desired for dumplings, pancakes, or desserts.
- Step 6: Cook the shaped dough according to your preferred method: steaming, boiling, or pan-frying.