Ingredients
Equipment
Method
- Step 1: Prepare the Fish: Ensure your fish is fresh and properly chilled. This is crucial for both safety and flavor. Pat it dry with a clean towel to remove any excess moisture.
- Step 2: Position the Fish: Place the fish on your cutting board, skin side down if applicable. Make sure it’s stable and secure to avoid any slips.
- Step 3: Slice the Fish: Using your sharp sashimi knife, make long, smooth cuts across the fish. Aim for an angle of about 45 degrees. This not only enhances the presentation but also improves the texture.
- Step 4: Cut Thickness: Strive for slices that are about 1/4 inch thick. You can adjust this based on your personal preference. Thicker cuts offer a more substantial bite, while thinner cuts are delicate and melt in your mouth.
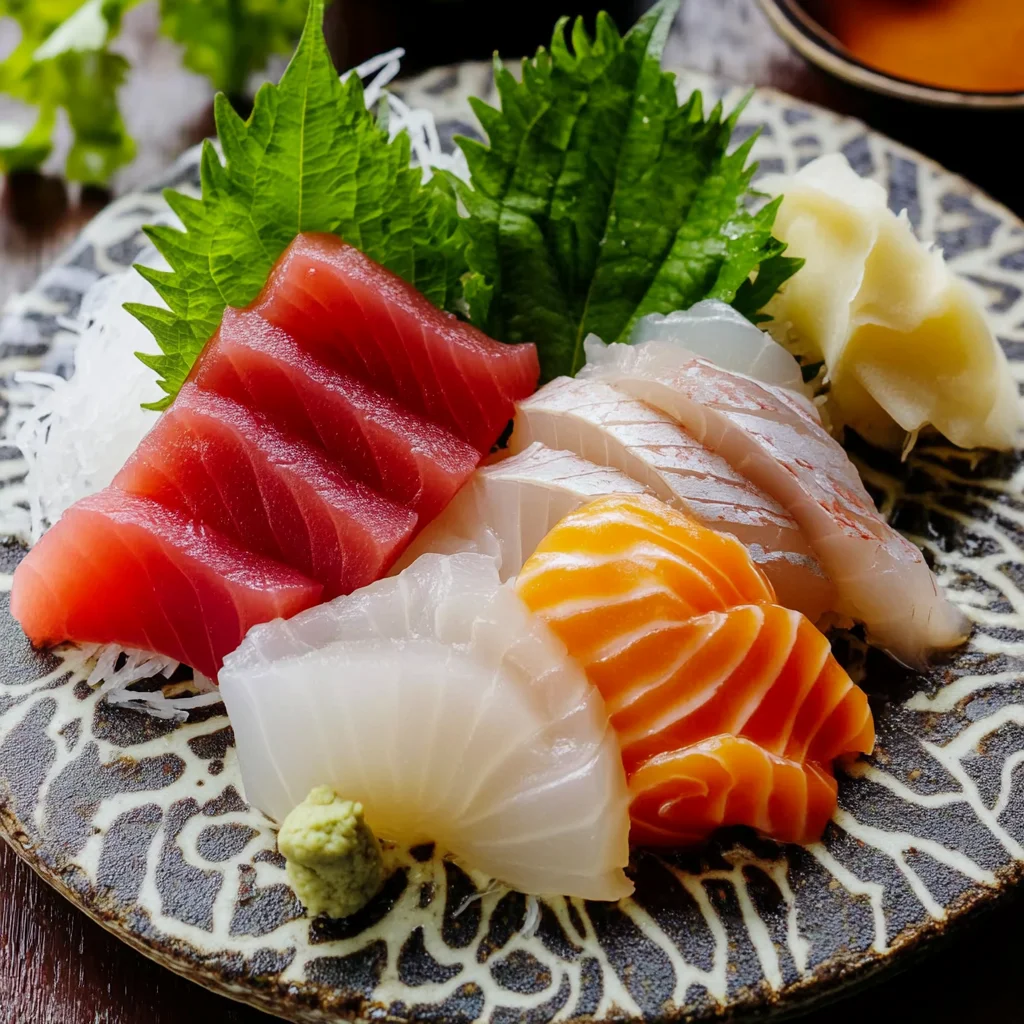
- Step 5: Serve: Arrange the slices on a plate. Presentation matters, so ensure they are neatly displayed and not overlapping. A beautiful plate makes the experience even more enjoyable!
Notes
If you have leftover sashimi, store it in an airtight container in the refrigerator. It’s best enjoyed within 24 hours for optimal freshness. Remember to keep it chilled and covered to maintain its quality.