
Ah, the joy of making wontons! I still remember the first time I wrapped wontons with my grandma in her cozy kitchen, laughter filling the air as we created little pockets of deliciousness. It’s a culinary adventure that not only fills your belly but also warms your heart. Plus, making wontons is incredibly easy and can be done in just 20 minutes. Let’s dive right in and discover how to wrap wontons together!
Why You’ll Love How to Wrap Wontons in 20 Minutes
- Fast: You can have the main components prepped and wrapped in about 20 minutes.
- Easy: It’s a simple process that even beginner cooks can master without any fuss.
- Giftable: These delightful treats make for perfect gifts at potlucks or family gatherings.
- Crowd-pleasing: Everyone loves a good wonton, making them a hit at any gathering!
Ingredients
- Wonton wrappers: The star of the show! These thin sheets are perfect for wrapping your filling.
- Filling of your choice: You can use minced meat, veggies, or even seafood. Get creative! I love using a mix of pork and green onions for a classic flavor.
- Water: Just a little bit to help seal those edges and keep your wontons from bursting open during cooking.
How to Make Wontons in 20 Minutes
Now, let’s get those hands busy and start wrapping!
- Begin by placing a wonton wrapper on a clean, dry surface with one corner pointing toward you.
- Spoon a small amount of filling (about 1 teaspoon) into the center of the wrapper. Don’t overfill, or they might burst!
- Dip your finger in water and moisten the edges of the wrapper to help it seal.
- Fold the wrapper in half diagonally to form a triangle, pressing the edges together firmly to seal.
- For a traditional wonton shape, take the two outer corners of the triangle and fold them together, sealing with a bit more water.
- Repeat the process with the remaining wrappers and filling until you have a lovely batch ready to cook.
Substitutions & Additions
If you want to mix things up, consider these swaps:
- Use tofu or mushrooms for a vegetarian option.
- Try adding spices like ginger or garlic to your filling for an extra kick.
- For a fun twist, try using cheese or spinach in your filling for a different flavor profile.
Tips for Success
Here are some tips to help you nail those wontons:
- Make sure your edges are well sealed to prevent any filling from leaking out during cooking.
- Keep a damp cloth over your wontons as you work to prevent them from drying out.
- If you have leftover filling, consider using it in a stir-fry or soup!
How to Store Wontons
Storing your wontons is easy:
- If you have uncooked wontons, place them in a single layer on a baking sheet and freeze until firm. Then transfer them to a freezer bag for longer storage.
- Cooked wontons can be stored in an airtight container in the fridge for up to 3 days.
FAQs
Can I use store-bought filling? Absolutely! There are many delicious pre-made fillings available that can save you time.
What cooking methods can I use for wontons? You can steam, boil, or fry them, depending on your preference!
How do I know when they are cooked? If boiling, they are done when they float to the surface. If frying, they should be golden brown and crispy.
Wontons are such a delightful treat that I can’t wait for you to try making them yourself! For more delicious recipes, check out this sweet treat or these crowd-pleasing spring rolls for more fun in the kitchen.
Don’t forget to follow us on Pinterest for more delicious recipes and inspiration!
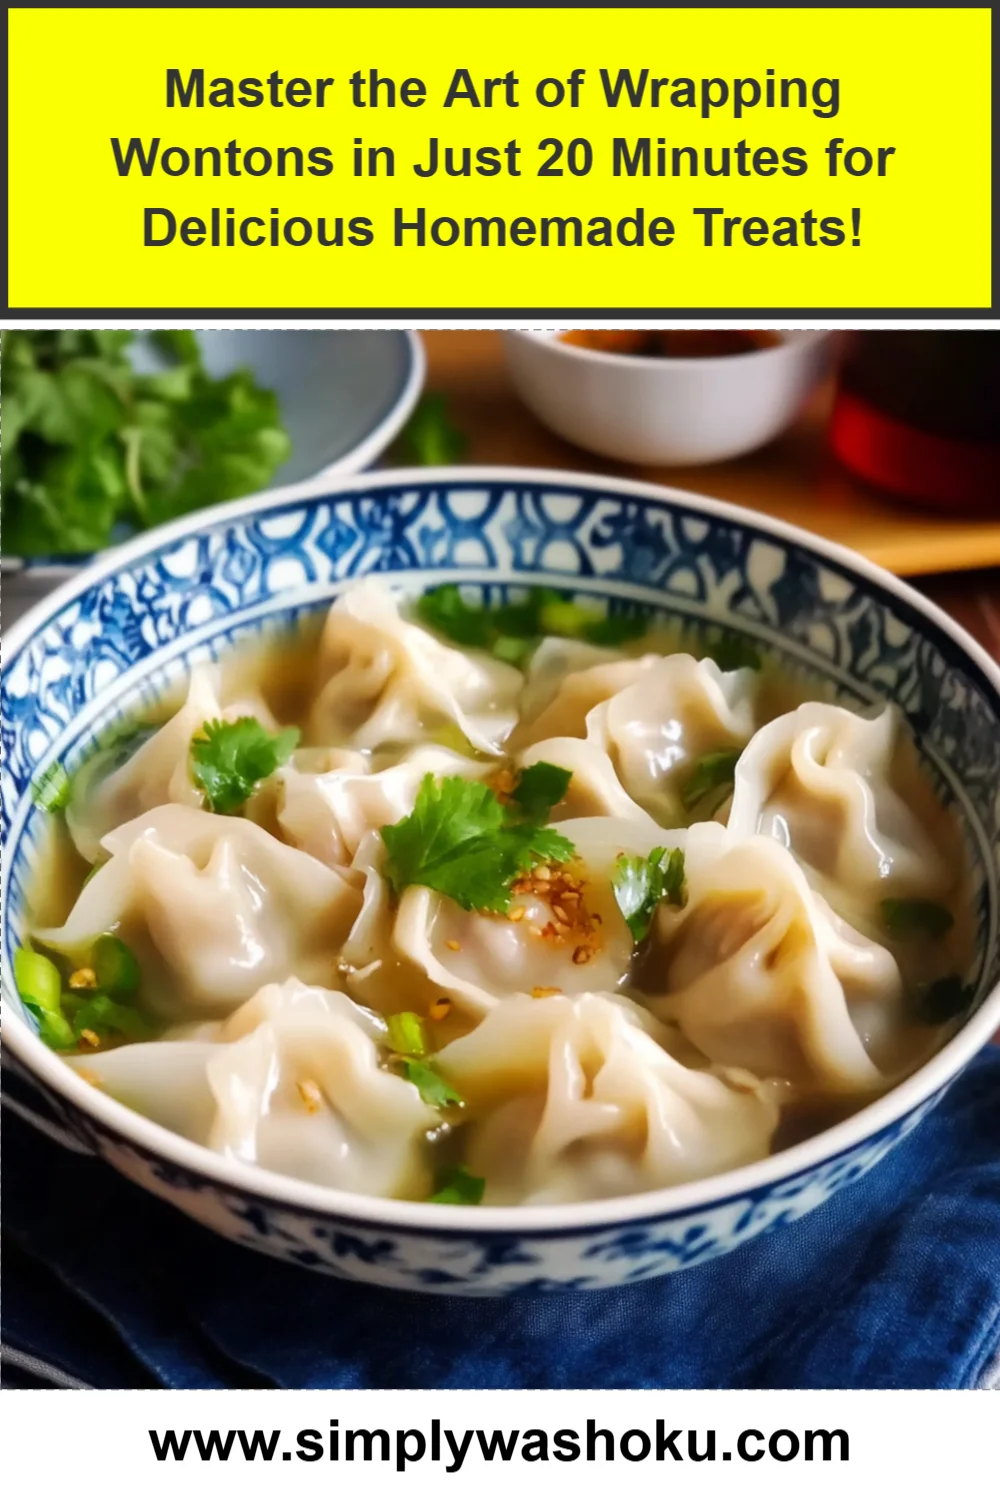
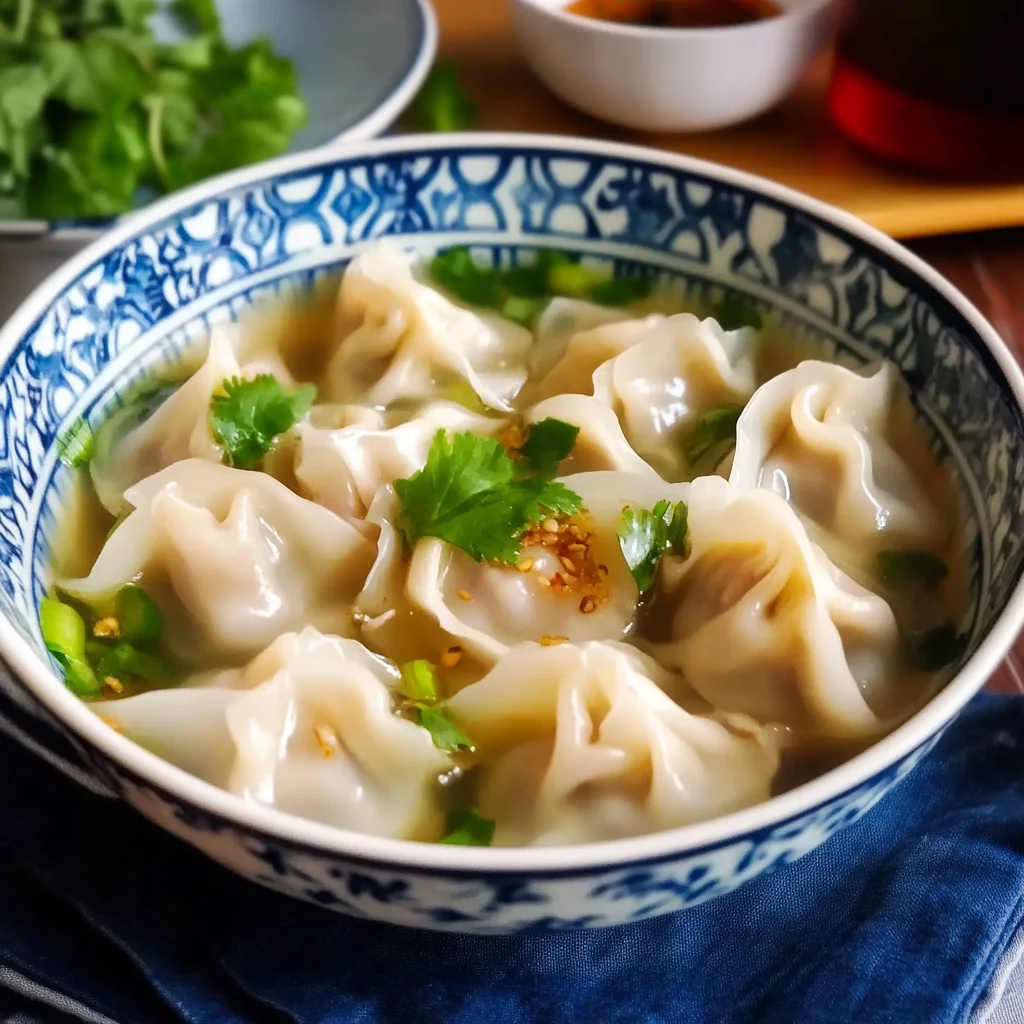
How to Wrap Wontons in 20 Minutes
Ingredients
Method
- Step 1: Begin by placing a wonton wrapper on a clean, dry surface with one corner pointing toward you.
- Step 2: Spoon a small amount of filling (about 1 teaspoon) into the center of the wrapper. Don’t overfill, or they might burst!
- Step 3: Dip your finger in water and moisten the edges of the wrapper to help it seal.
- Step 4: Fold the wrapper in half diagonally to form a triangle, pressing the edges together firmly to seal.
- Step 5: For a traditional wonton shape, take the two outer corners of the triangle and fold them together, sealing with a bit more water.
- Step 6: Repeat the process with the remaining wrappers and filling until you have a lovely batch ready to cook.