
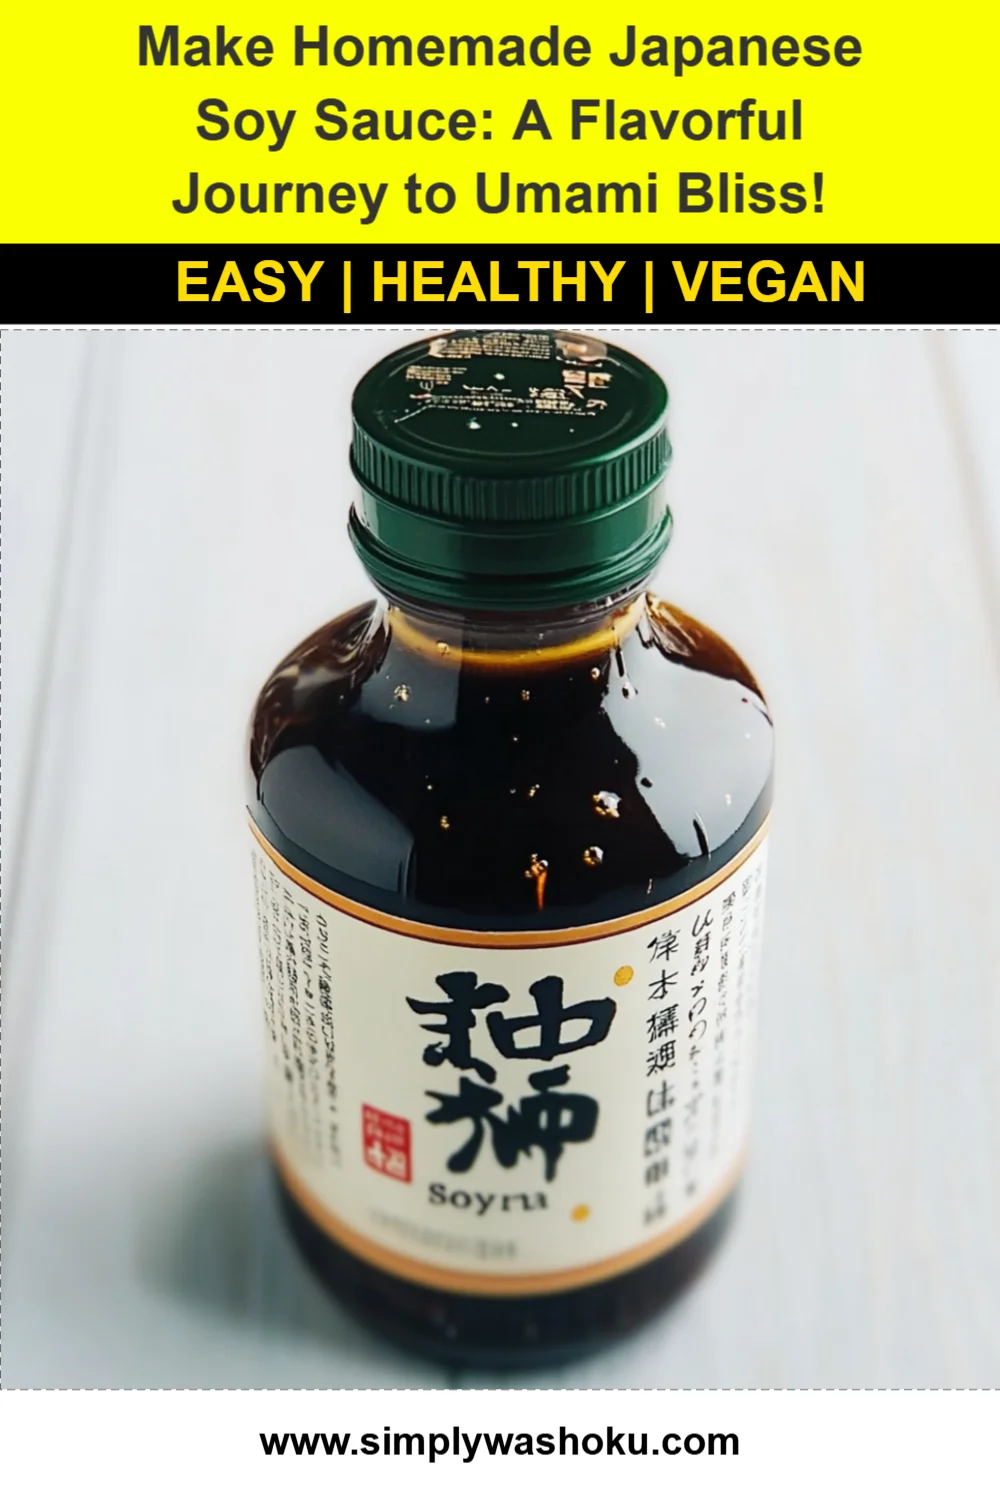
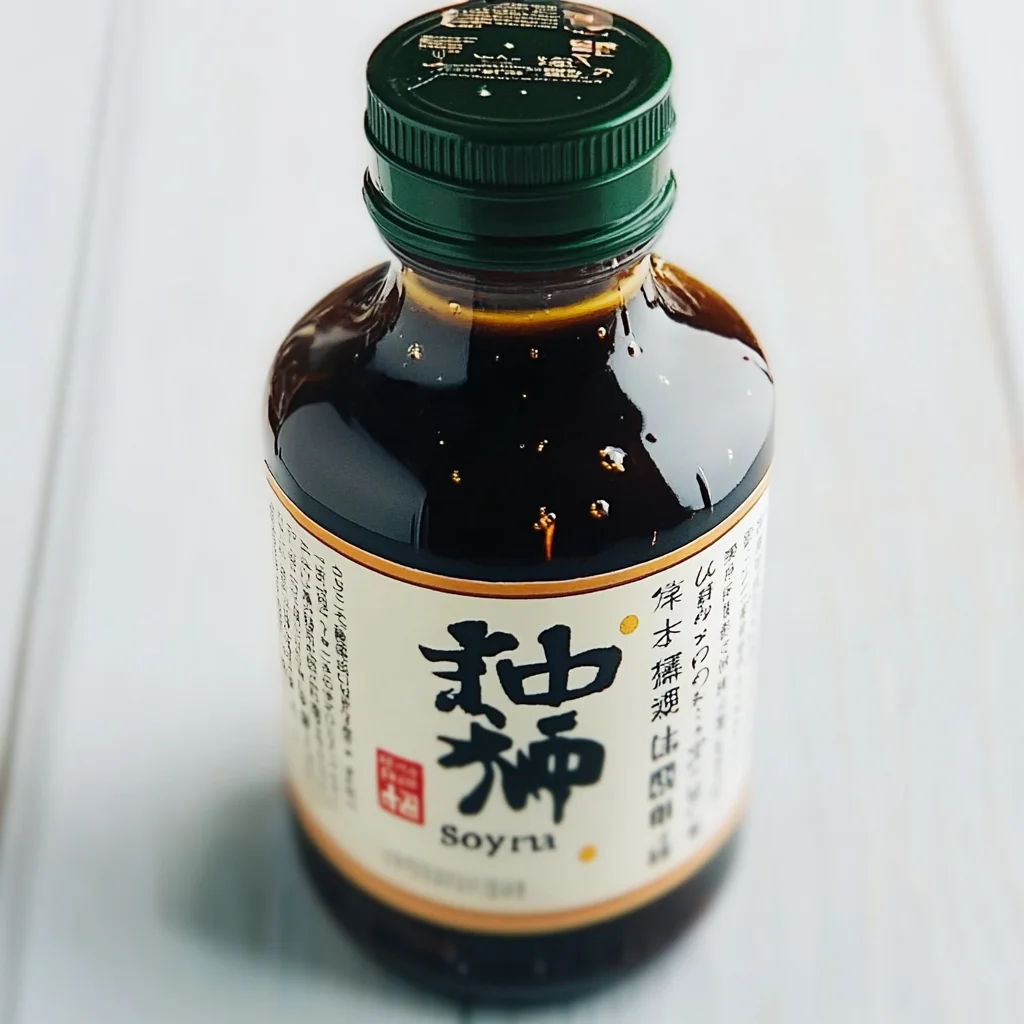
Ah, the rich umami flavors of Japanese soy sauce! It brings back memories of cozy family dinners and the delightful aroma of home-cooked meals. Making your own soy sauce may seem daunting, but I promise you, it’s a rewarding experience that’s easier than you might think. Plus, it’s a fun way to connect with the tradition of Japanese cooking!
Why You’ll Love Japanese Soy Sauce
- Fast: You can have the main components prepped and fermenting in just a couple of days.
- Easy: The process might sound complex, but once you get the hang of it, you’ll feel like a pro.
- Giftable: Nothing says “thoughtful” like a homemade bottle of soy sauce for your friends and family.
- Crowd-pleasing: This homemade version elevates any dish, impressing everyone at your next gathering!
Ingredients
- 1 cup soybeans: The star of our show, full of protein and flavor.
- 1 cup wheat flour: It adds depth to the sauce, enhancing its taste.
- 4 cups water: Essential for soaking and creating that perfect brine.
- 1 cup koji (Aspergillus oryzae): This mold is crucial for fermentation, giving the sauce its unique flavor.
- 1 cup salt: Helps in preserving and flavoring the soy sauce.
- 4 cups additional water (for brining): This will help create a beautiful brine to ferment our mixture.
How to Make Japanese Soy Sauce
- Start by rinsing your soybeans and soaking them in water for about 12 hours. This step is essential to soften them up.
- After soaking, drain the beans and steam them for approximately 30 minutes until they’re tender.
- Once steamed, let the soybeans cool down, then mash them into a paste. I like to use a fork or a potato masher for this!
- In a large bowl, mix the mashed soybeans with the wheat flour and koji. Stir it all together until well combined.
- Gradually add 4 cups of water to the mixture until it reaches a smooth consistency. It should feel like a thick batter.
- Transfer this mixture to a fermentation container and cover it with a clean cloth to allow it to breathe.
- Let the mixture ferment at room temperature for 1 to 2 days, stirring occasionally. You’ll start to notice a lovely aroma!
- After fermentation, dissolve 1 cup of salt in 4 cups of water to create your brine solution.
- Pour the brine over the fermented mixture, making sure everything is fully submerged.
- Cover the container tightly and let it ferment in a cool, dark place for 6 to 12 months. Yes, patience is key!
- Once fermentation is complete, strain the liquid through a fine mesh sieve or cheesecloth to separate the soy sauce from the solids.
- Store your strained soy sauce in sterilized bottles and refrigerate. Enjoy the fruits of your labor!
Substitutions & Additions
If you’re looking to experiment, consider these swaps:
- Gluten-free flour: You can use a gluten-free flour blend in place of wheat flour for a gluten-free version.
- Low-sodium salt: If you’re watching your sodium intake, opt for low-sodium salt to control the flavor.
- Additional flavorings: Add a piece of kombu or a dash of mirin for extra depth.
Tips for Success
Here are some helpful tips to ensure your soy sauce turns out perfect:
- Make sure your fermentation container is clean to prevent unwanted bacteria.
- Keep an eye on the temperature; a cool, dark place is ideal for fermentation.
- If you notice any mold forming on the surface, simply skim it off carefully.
How to Store Japanese Soy Sauce
Once your soy sauce is ready, store it in sterilized bottles. It can last for several months in the fridge, but trust me, it won’t last that long! The rich flavors will elevate your dishes, and you’ll find yourself reaching for it often.
FAQs
- Can I use different types of beans? Yes, you can experiment with other beans, but soybeans are traditional for authentic flavor.
- What if my fermentation smells off? If it smells sour or rotten, discard it. The aroma should be pleasant and slightly sweet.
- How can I use my homemade soy sauce? Use it in marinades, dressings, or as a dipping sauce for sushi!
Homemaking soy sauce is not just about the end product; it’s about the journey! For more delicious recipes, check out the delightful Japanese apple salad recipe or the comforting potato leek soup recipe for treats you will love!
Feeling inspired? Follow our Pinterest account for more culinary delights and creative ideas!
Homemade Japanese Soy Sauce
Ingredients
Equipment
Method
- Step 1: Start by rinsing your soybeans and soaking them in water for about 12 hours. This step is essential to soften them up.
- Step 2: After soaking, drain the beans and steam them for approximately 30 minutes until they're tender.
- Step 3: Once steamed, let the soybeans cool down, then mash them into a paste.
- Step 4: In a large bowl, mix the mashed soybeans with the wheat flour and koji. Stir it all together until well combined.
- Step 5: Gradually add 4 cups of water to the mixture until it reaches a smooth consistency.
- Step 6: Transfer this mixture to a fermentation container and cover it with a clean cloth to allow it to breathe.
- Step 7: Let the mixture ferment at room temperature for 1 to 2 days, stirring occasionally.
- Step 8: After fermentation, dissolve 1 cup of salt in 4 cups of water to create your brine solution.
- Step 9: Pour the brine over the fermented mixture, making sure everything is fully submerged.
- Step 10: Cover the container tightly and let it ferment in a cool, dark place for 6 to 12 months.
- Step 11: Once fermentation is complete, strain the liquid through a fine mesh sieve or cheesecloth to separate the soy sauce from the solids.
- Step 12: Store your strained soy sauce in sterilized bottles and refrigerate.